No edit summary |
(Clarify some explanatory text) |
||
| (One intermediate revision by the same user not shown) | |||
| Line 9: | Line 9: | ||
1. Enable "Developer Mode" in Discord - under `User Settings` -> `Advanced` | 1. Enable "Developer Mode" in Discord - under `User Settings` -> `Advanced` | ||
2. Right click on the user who's code you want to use and select "Copy ID". Make sure you click on their name or avatar, and not the message they've sent | 2. Right click on the user who's code you want to use and select "Copy ID". Make sure you click on their name or avatar, and not the message they've sent | ||
3. In a prompt with the Midjourney Bot, add `--p <@User ID>` - replace "User ID" with the ID you've copied (for example, `--p <@287696585142304769>`) | 3. In a prompt with the Midjourney Bot, add `--p <@User ID>` - replace "User ID" with the ID you've copied (for example, `--p <@287696585142304769>`). The bot will replace this with the user's shortcode, which you can continue to use in the future. | ||
# | # Effects | ||
</markdown> | </markdown> | ||
Personalization can make a large difference in generated images, similar to a style reference. | Personalization can make a large difference in generated images, similar to a style reference. However, unlike style references, personalization has a much more general effect. They are not as opinionated in a single direction, which means it can be better at following your prompt's set style than when you use a style reference. | ||
{{ContentGrid|content= | {{ContentGrid|content= | ||
{{JobImage|60065ec1-a1ed-4ca6-8140-700eb10167e8.png}} | {{JobImage|60065ec1-a1ed-4ca6-8140-700eb10167e8.png}} | ||
| Line 20: | Line 21: | ||
}} | }} | ||
Because of this more general effect, more complicated prompts (especially prompts that include style directions) can reduce the visual affect of personalization on the outcome. | |||
{{ContentGrid|content= | {{ContentGrid|content= | ||
| Line 27: | Line 28: | ||
}} | }} | ||
This can be overcome by setting a higher stylize value, using style raw, or using both in combination. Be careful, as these techniques may sacrifice how well the model follows your prompt. Notice: as <code>--style raw</code> and <code>--s 1000</code> are used together, the model begins to ignore the "pencil sketch" style the prompt provides, as it gains colors and much darker lines. The final image almost has the effect of being colored in with markers, something the prompt doesn't call for at all! | |||
{{ContentGrid|content= | {{ContentGrid|content= | ||
| Line 33: | Line 34: | ||
{{JobImage|42ac71ac-9a44-47a3-babb-cb53b757e012.png}} | {{JobImage|42ac71ac-9a44-47a3-babb-cb53b757e012.png}} | ||
{{JobImage|D65e5bd6-fca3-4ceb-b16e-c44c85ee04c9.png}} | {{JobImage|D65e5bd6-fca3-4ceb-b16e-c44c85ee04c9.png}} | ||
}} | }} | ||
By including multiple codes after --p, | = Blending Styles = | ||
By including multiple codes after --p, it's possible to blend the styles of two different users together. | |||
{{ContentGrid|content= | {{ContentGrid|content= | ||
| Line 43: | Line 47: | ||
}} | }} | ||
It's also possible to weight each code, using the same syntax for weighting prompts. For example, <code>--p somecode::1 anothercode::2</code> will result in <code>anothercode</code> having an effect that is twice as strong as <code>somecode</code>. | |||
{{ContentGrid|content= | {{ContentGrid|content= | ||
{{JobImage|0_0_83f3ba50-d965-4fca-a7c3-77f993103505.png}} | {{JobImage|0_0_83f3ba50-d965-4fca-a7c3-77f993103505.png}} | ||
{{JobImage|6ec41485-8c74-46c5-8099-0bf75fb65cc2.png}} | {{JobImage|6ec41485-8c74-46c5-8099-0bf75fb65cc2.png}} | ||
}} | |||
You can also blend your style with a <code>--sref</code> image or code. | |||
{{ContentGrid|content= | |||
{{JobImage|0_0_2399246d-4521-4b19-a418-748058452469.png}} | |||
{{JobImage|0_2_3673fd37-4d59-4307-8a87-1d59b0ae1467.png}} | |||
}} | |||
Since <code>--sw</code> controls the weight of the <code>--sref</code>, and <code>--stylize</code> controls the weight of your personalization, it's possible to control how much each affects the composition of an image. | |||
As you increase <code>--s</code> value, the personalization effect gets stronger... | |||
{{ContentGrid|content= | |||
{{JobImage|0_1_eeb276a6-d6a2-4ad8-bfd2-07e693a161f7.png}} | |||
{{JobImage|0_1_51bf289a-3c29-4733-813b-6dd416dc3d6e.png}} | |||
{{JobImage|0_2_966aeec8-2b55-4d98-850c-e2f66f645a9b.png}} | |||
{{JobImage|0_1_7ea894aa-69c8-47d5-b8ab-dd5b578b83be.png}} | |||
}} | |||
Or, you can ''decrease'' the <code>--sw</code> value, which might avoid the model's tendency to ignore your prompt at high stylize values. | |||
{{ContentGrid|content= | |||
{{JobImage|0_1_48f56583-dfdd-4c7e-87cc-987e662740e2.png}} | |||
{{JobImage|0_3_b862c708-8234-4acd-a573-cf31dccbacd2.png}} | |||
{{JobImage|0_1_1d901764-8e0b-4264-9e5b-891ca7afe30f.png}} | |||
}} | }} | ||
Latest revision as of 22:04, 29 June 2024
Personalization (or --p) is a feature that uses your ranking data (from v6 pair rankings) and likes (of other users jobs from the explore page) in order to tune the model to a style that you are more likely to enjoy. It can be enabled by adding --p to your prompt.
Using Other People's Styles
--p generates a unique code (called a shortcode) for each user when they use the feature. This code can be used to uniquely identify a user, just like a User ID. You can share this code with others to enable them to use your personal style in their prompts! If you don't know someone else's shortcode, you can still use their style by using their Discord User ID.
The personalization of multiple users can be blended together by including multiple shortcodes after --p. These codes can also be weighted by using the typical weighting syntax
- Enable "Developer Mode" in Discord - under
User Settings->Advanced - Right click on the user who's code you want to use and select "Copy ID". Make sure you click on their name or avatar, and not the message they've sent
- In a prompt with the Midjourney Bot, add
--p <@User ID>- replace "User ID" with the ID you've copied (for example,--p <@287696585142304769>). The bot will replace this with the user's shortcode, which you can continue to use in the future.
Effects
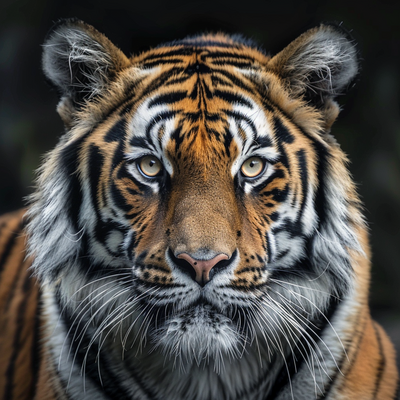
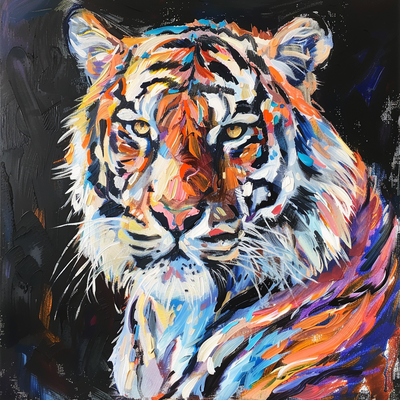
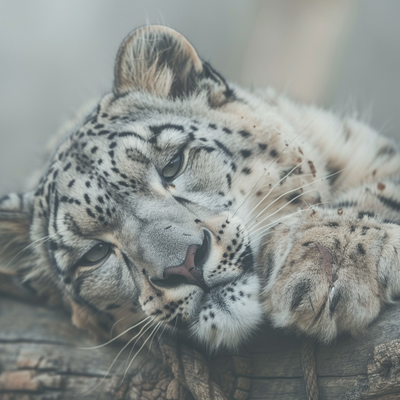
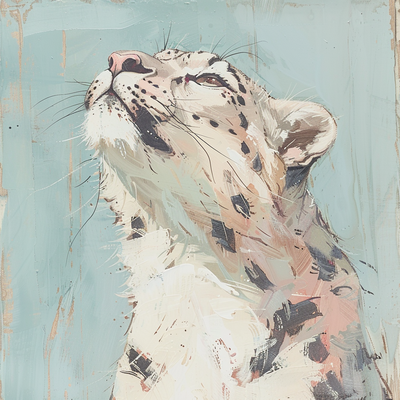
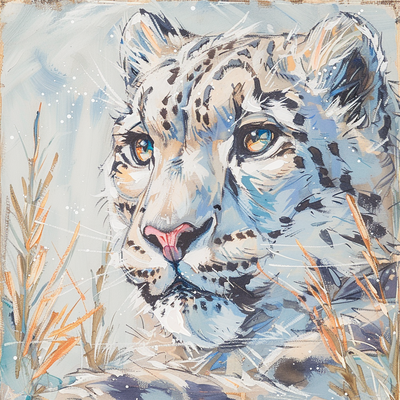
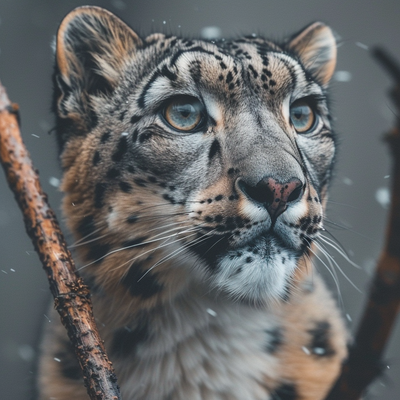
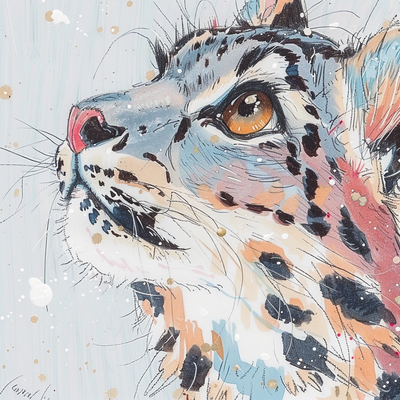
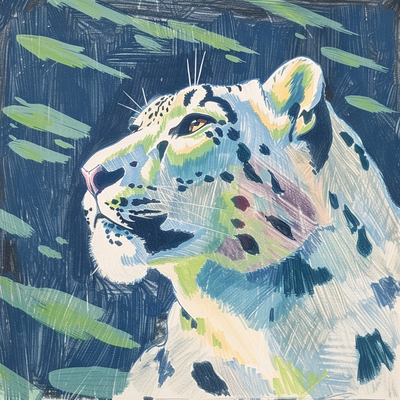
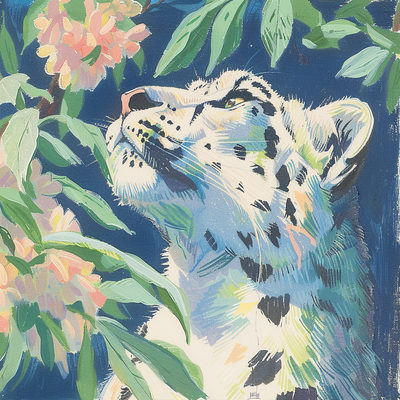
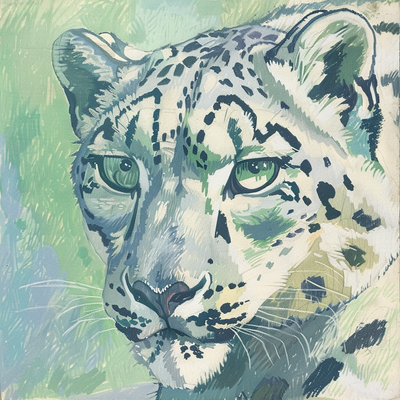
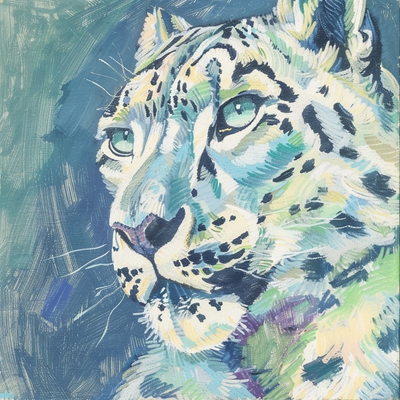
Personalization can make a large difference in generated images, similar to a style reference. However, unlike style references, personalization has a much more general effect. They are not as opinionated in a single direction, which means it can be better at following your prompt's set style than when you use a style reference.
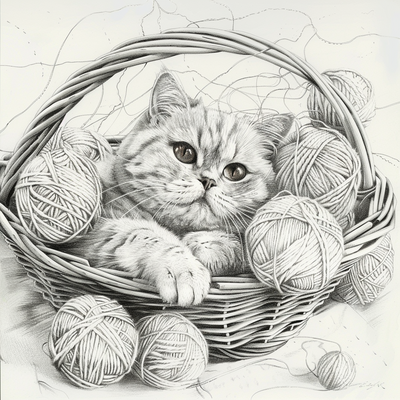
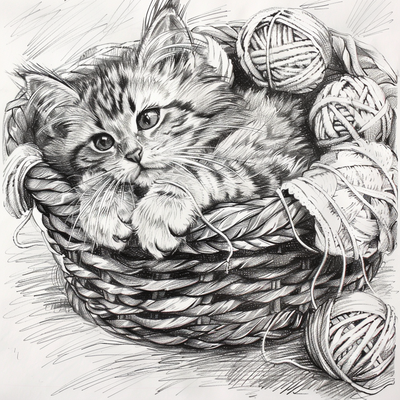
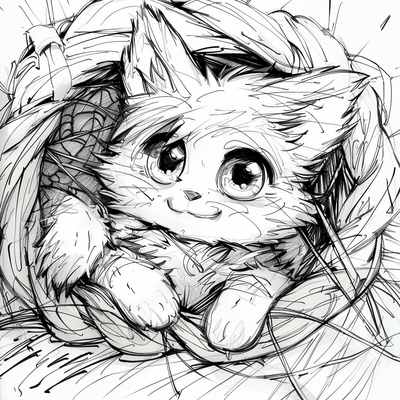
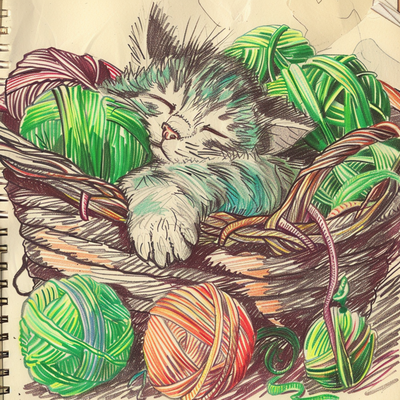
Because of this more general effect, more complicated prompts (especially prompts that include style directions) can reduce the visual affect of personalization on the outcome.
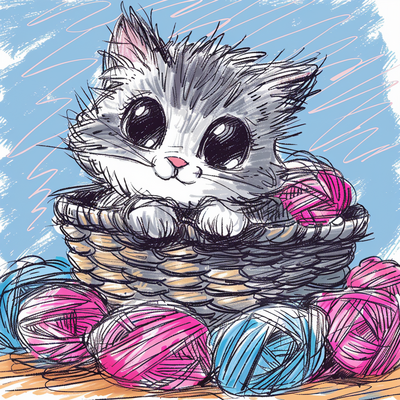
This can be overcome by setting a higher stylize value, using style raw, or using both in combination. Be careful, as these techniques may sacrifice how well the model follows your prompt. Notice: as --style raw and --s 1000 are used together, the model begins to ignore the "pencil sketch" style the prompt provides, as it gains colors and much darker lines. The final image almost has the effect of being colored in with markers, something the prompt doesn't call for at all!
Blending Styles
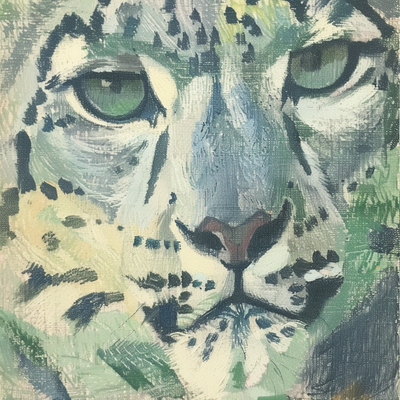
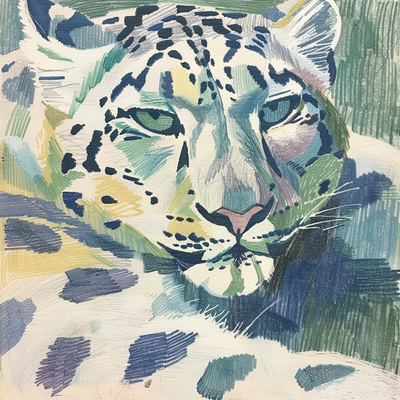
By including multiple codes after --p, it's possible to blend the styles of two different users together.
It's also possible to weight each code, using the same syntax for weighting prompts. For example, --p somecode::1 anothercode::2 will result in anothercode having an effect that is twice as strong as somecode.
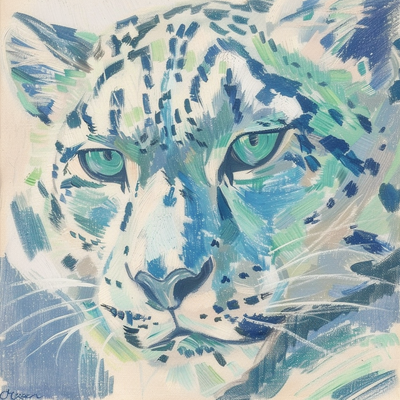
You can also blend your style with a --sref image or code.
Since --sw controls the weight of the --sref, and --stylize controls the weight of your personalization, it's possible to control how much each affects the composition of an image.
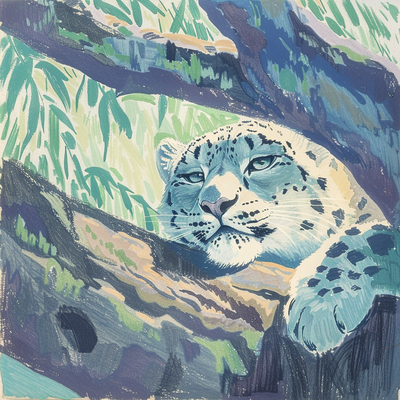
As you increase --s value, the personalization effect gets stronger...
Or, you can decrease the --sw value, which might avoid the model's tendency to ignore your prompt at high stylize values.
